We bought Google Home devices a few years ago, and one of the things we use them most for is setting timers for things like cooking and washing. We have a few devices around the house, and for some reason they don’t play nice together. We’d ask for a timer in the kitchen and the living room device would pick up the command instead. The timers aren’t synced across devices, so this gets really annoying. As far as I know, there’s no fix for this.
So recently when I was looking for a project to take on as part of learning about ESP32 and microcontrollers, one idea I had was to build a voice activated timer system of my own that could sync throughout the house with multiple devices. It started with buttons, a small screen and a buzzer. It now has a web control and voice input too.
There’s some work left to polish it, but the complete voice path is working so I thought I’d document it.
Learning the basics first
Before starting the timer, I worked through the excellent SunFounder ESP32 Starter Kit and Robojax’s great accompanying video course. The tutorials take you from LEDs and buttons through displays, buzzers, sensors and networking.
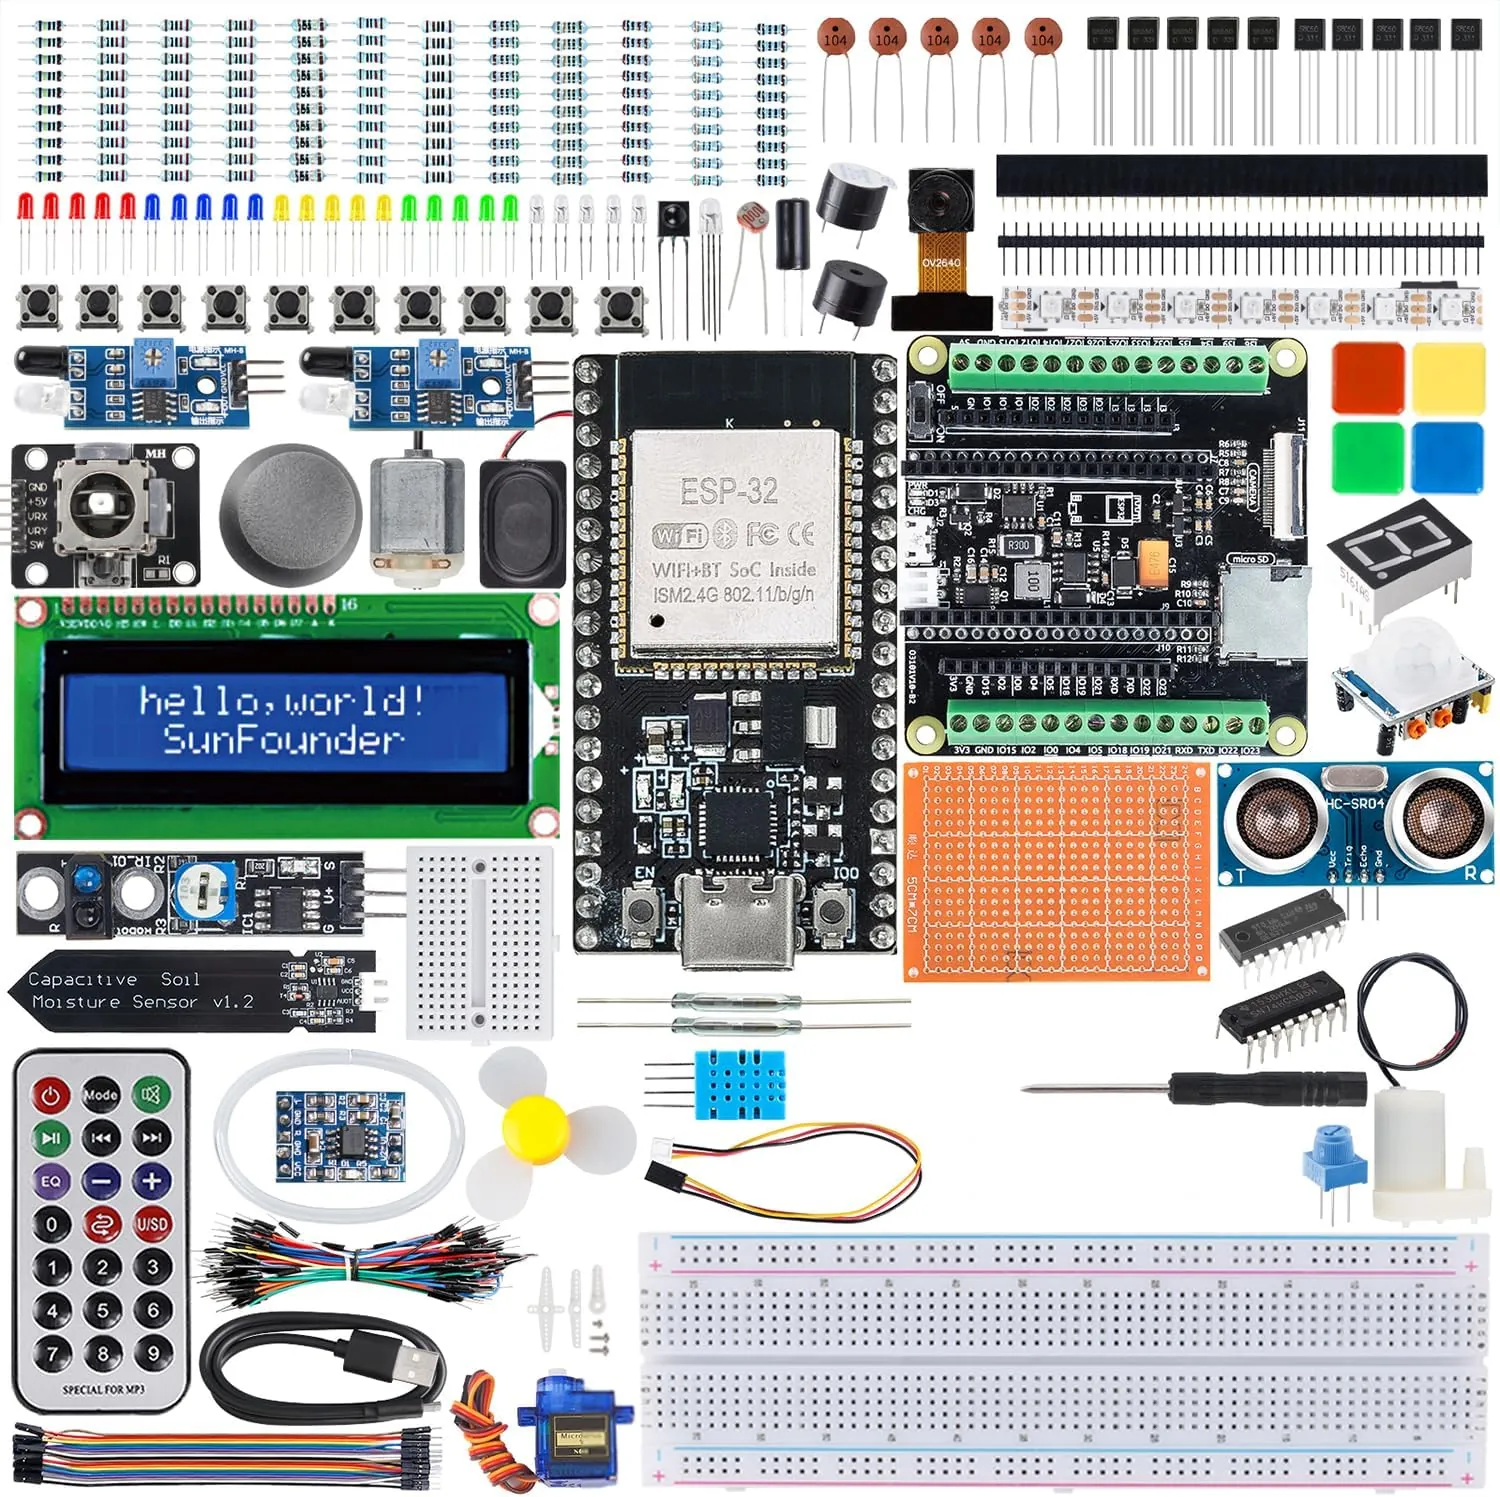
The SunFounder ESP32 starter kit
Working through all of them was a really good learning experience. Building the circuits and running the code gave me a solid foundation for putting something of my own together. Alongside the kit, I learned some electronics basics from other resources to help understand what the components were doing.
A timer brought several of those lessons together. I could use the buttons to choose a duration, show it on a display, and make a sound when it finished. Adding a microphone later took the project beyond the kit exercises.
The hardware I’ve ended up with is:
- An ESP32 dev board, the programmable part of the project that everything plugs into.
- A 16×2 LCD, which gives me two lines of text for the countdown and status messages.
- Three buttons for physical input (start timer and adjust length up/down).
- A buzzer for timer complete sound and listening cue.
- An INMP441 digital microphone for voice input.
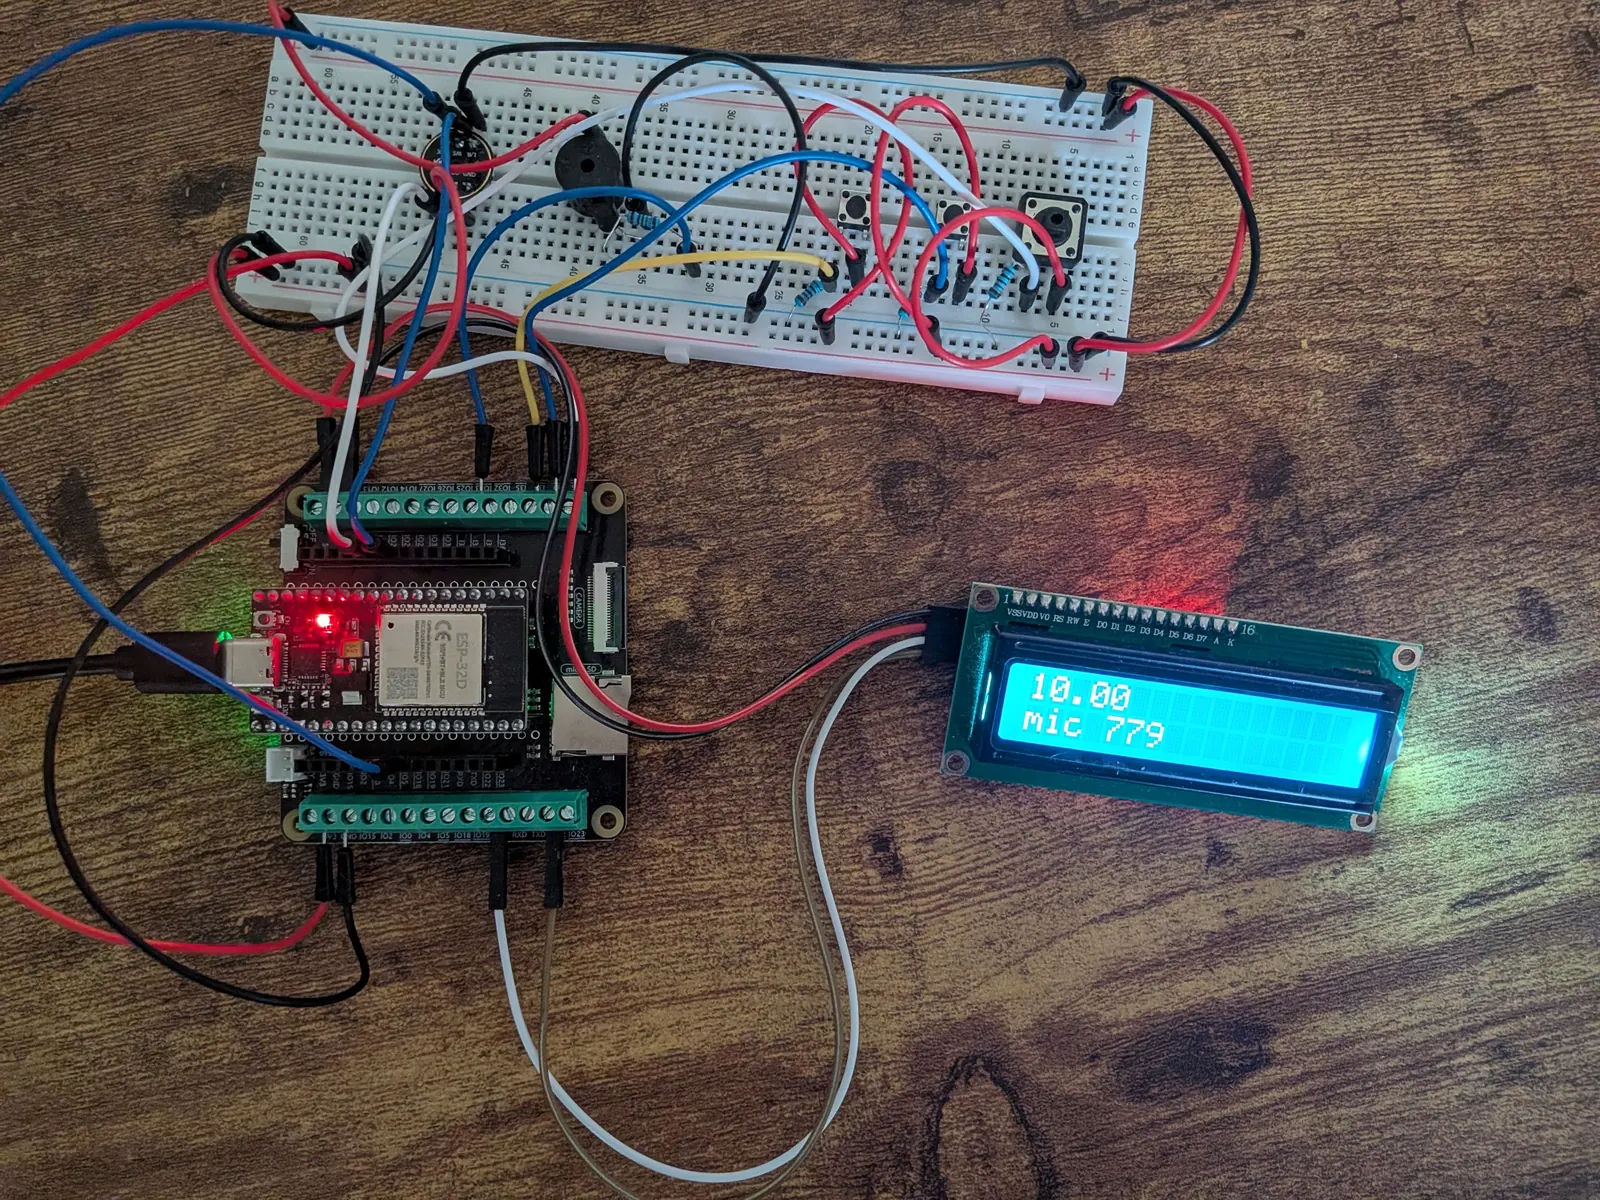
The prototype
I’m writing the C++ code in PlatformIO using the Arduino framework. Originally I worked through the ESP32 tutorials using the Arduino IDE but found PlatformIO offers more for a bigger project like this.
Getting a countdown working
The first version was a standalone timer. Two buttons adjusted the duration, the third started it, and the buzzer played a short fanfare when it finished. No networking or speech recognition involved yet.
The timer has three states:
- Ready: choose a duration.
- Counting: keep track of the remaining time.
- Finished: show “Done” and sound the timer finished fanfare.
That gives the program a simple set of rules. Changing the duration only makes sense when the timer is ready. Starting it moves it into counting, and reaching zero moves it into finished. Cancelling returns it to ready.
As the project grew, I pulled the display, buttons, timer and buzzer into separate modules. The timer logic keeps track of its state and duration. Other parts of the program deal with reading inputs, updating the screen and playing sounds.
Adding web control
I then added a simple web page with duration inputs and controls to set, start or cancel the timer. It also displays the countdown and whether the device is online.
The page and ESP32 communicate using MQTT, a messaging protocol where clients publish messages and subscribe to the ones they want to receive. A broker passes those messages between them. I’m using Mosquitto as the broker, with the browser connecting through WebSockets and the ESP32 using an MQTT client library.
The browser sends commands such as start 300000, meaning start a five-minute timer. The ESP32 publishes state changes, so the page can show what the timer is doing.
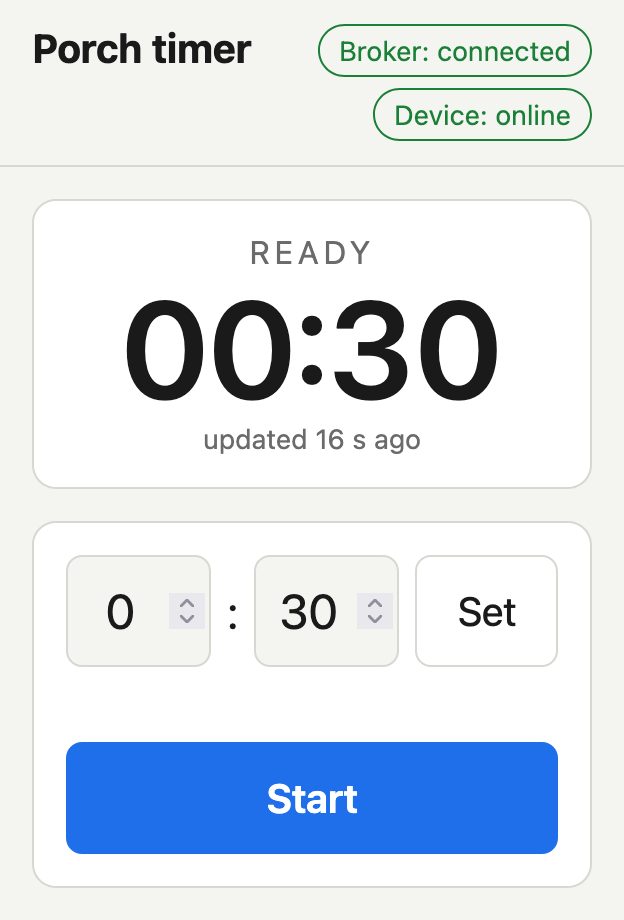
The web controller with a 30-second timer ready to start
Making it listen
Voice control has two separate jobs: detecting when someone is talking to the timer, then understanding what they want it to do.
A small wake-word model runs directly on the ESP32 and listens for “Okay Nabu”. When it triggers, the board begins capturing audio, and the main loop plays a beep and puts “Listening…” on the LCD.
The board records four seconds of audio and streams it over Wi-Fi to a Python receiver running on my home server. It uses faster-whisper, an implementation of Whisper speech recognition, with the small English tiny.en model running on the CPU.
That produces a transcript. A separate piece of Python code checks whether the text matches a supported timer request and turns it into a command. For example, “start the timer for five minutes” becomes start 300000. The server returns a command for the ESP32 to carry out.
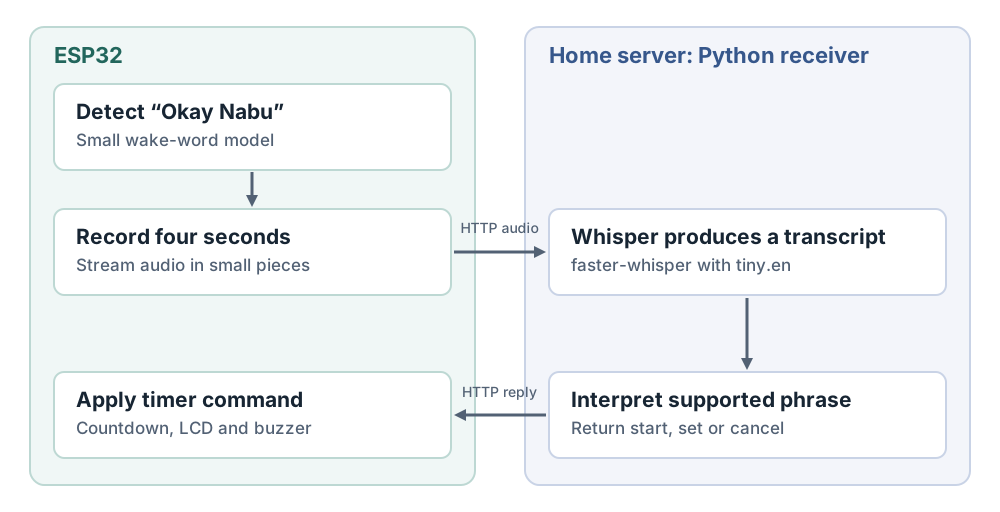
Audio and memory
Getting microphone samples into a format the server could use was another thing to figure out. The firmware reads the microphone into 32-bit values, converts them to 16-bit audio samples, and sends those samples to the home server for processing.
The server also saves my recordings as WAV files so I can use them to improve transcription and command accuracy. Serial logs show what the ESP32 is doing for diagnosing any issues on device.
I also stream the recording in small pieces instead of holding the whole thing in memory on the board. Buffers, data types and memory management in C++ were some of the things I had to learn more about to get it working.
Keeping everything responsive
Recording audio and waiting for the server take time. A capture lasts four seconds, followed by the wait for a reply. Calling that whole sequence from the main loop would leave its button handling and display updates waiting for the function to return.
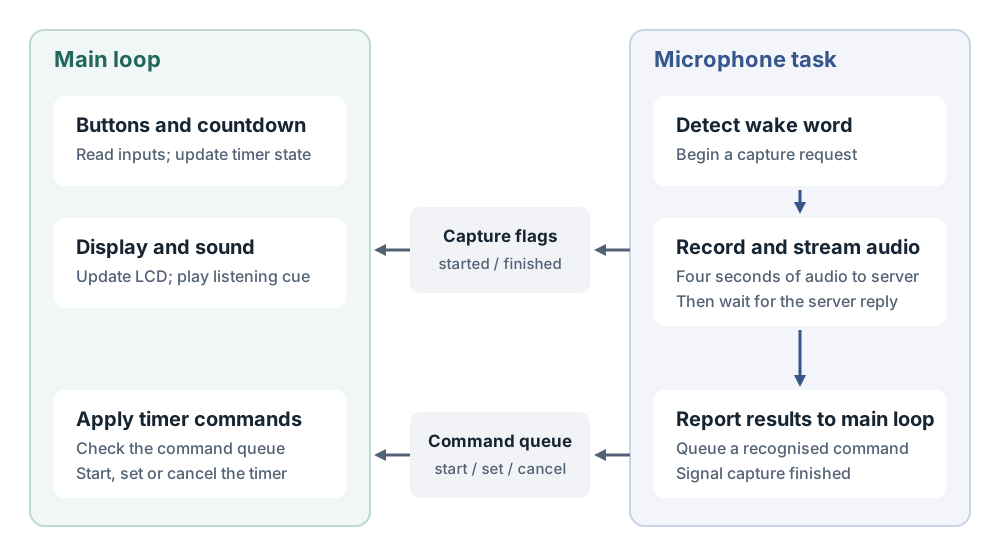
I run the microphone work in a separate FreeRTOS task, effectively a thread. FreeRTOS is the operating system used by the ESP32’s Arduino framework and schedules when each task runs. The microphone task has its own loop, so it can record audio and wait for the server while the main loop keeps handling inputs and updating the countdown.
The microphone task handles wake-word detection, recording and communication with the server. The main loop handles the buttons, countdown, LCD and buzzer. Commands pass between them through a queue, effectively a small inbox that the main loop checks on each pass. The microphone task also signals when capture starts and finishes, so the main loop can update the screen and play the listening cue. This keeps the display and sound updates in one place while the audio work runs separately.
Getting it off the desk
The timer now has a working countdown, a browser interface, and the complete wake-word-to-command path. It’s still a desk prototype rather than something we’re using around the house.
The next steps I’d like to do are learning to solder, getting the timer on to a perfboard and then getting it into a prototype box so I can place it in the house. Perhaps then I’ll design it as a PCB and get it printed.
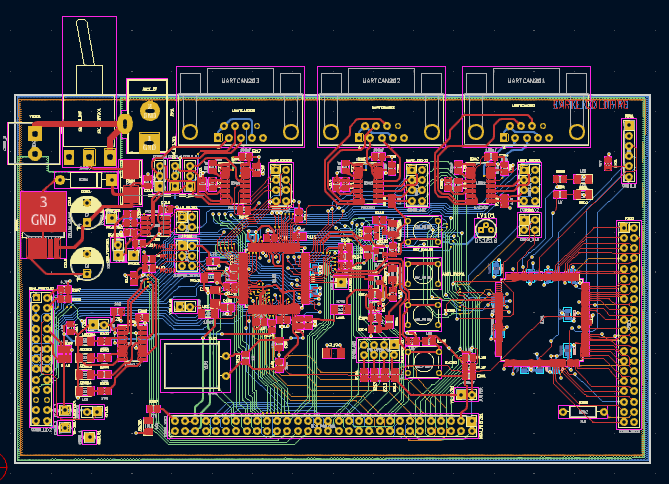
An example of a scary PCB layout in KiCad
Once I have multiple timer devices, I’ll spend a bit of time on the software side getting multiple devices playing nice together.
All in all, the ESP32 starter kit and this project have been fun ways to learn more about electronics and microcontrollers, plus some extra C++ and audio processing along the way.